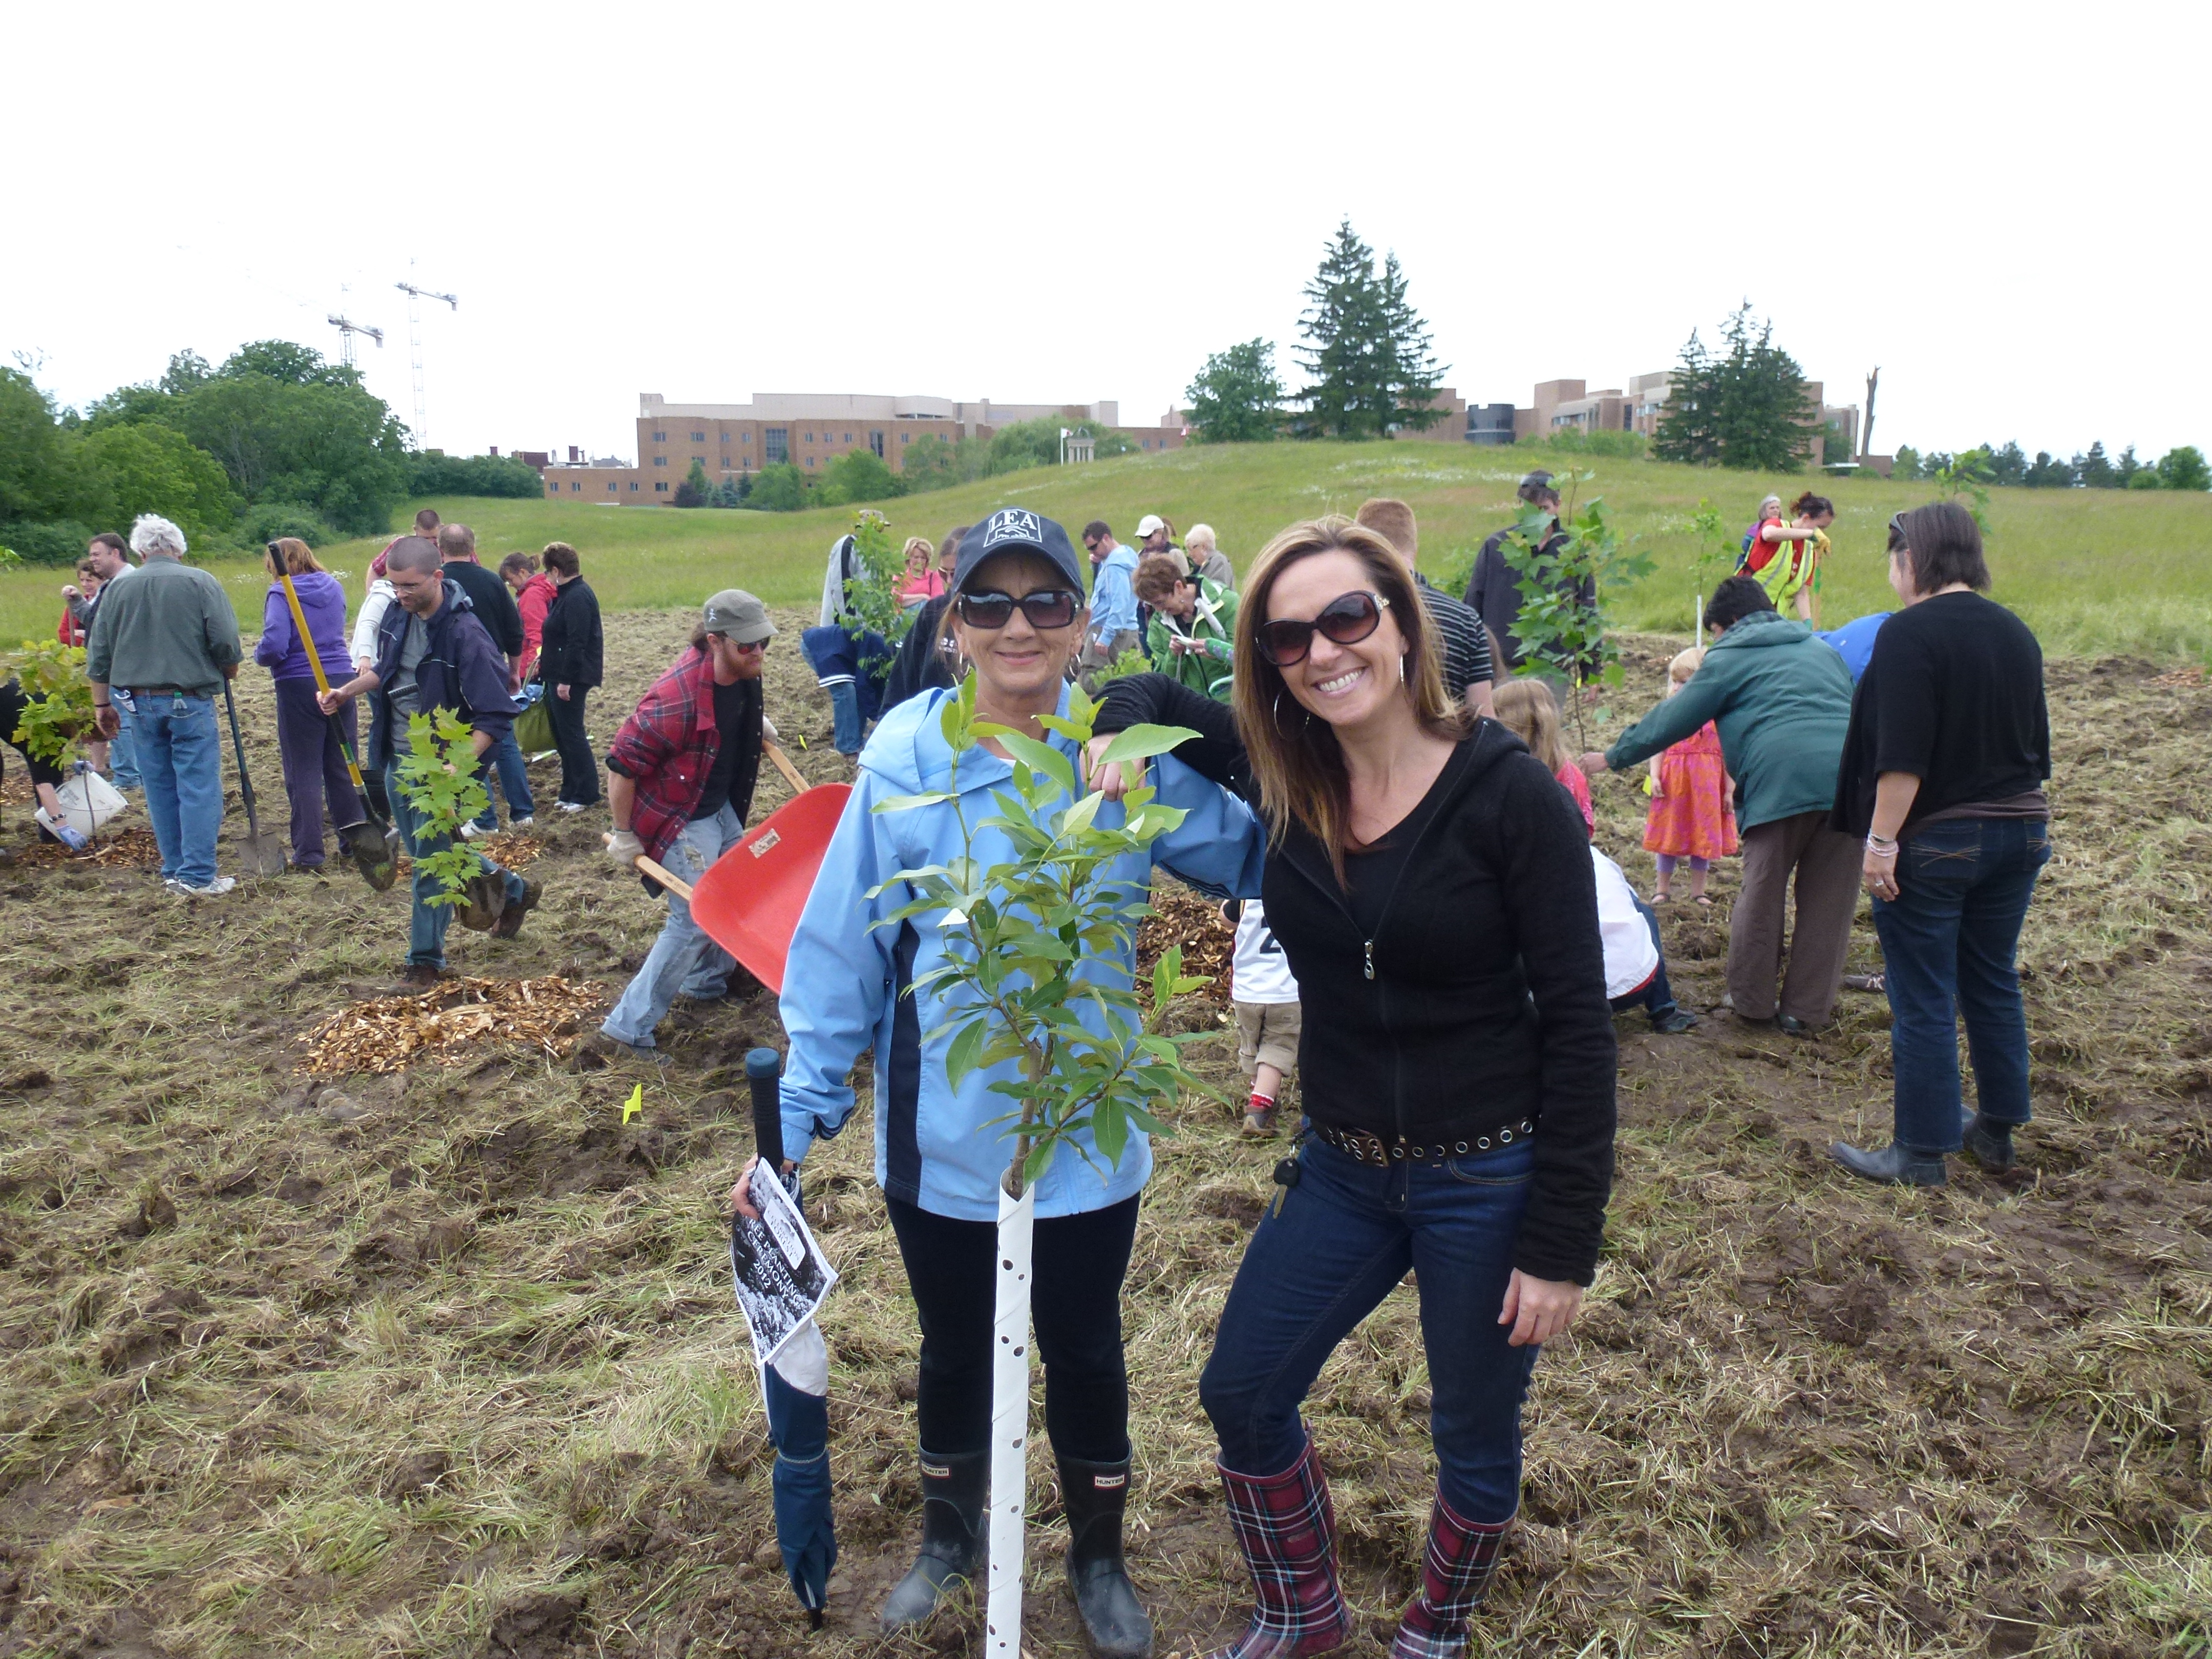
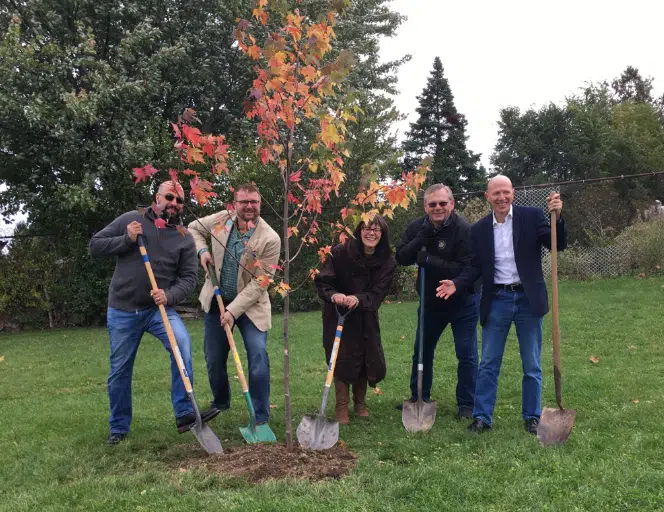
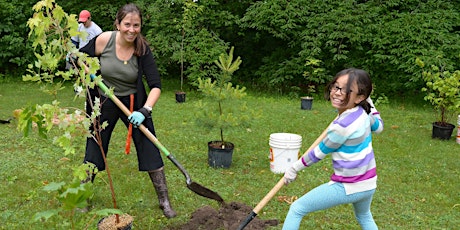
Environment Day - Tree Planting
Tree Planting
Why plant trees?
- Urban forests provide a broad array of well-known environmental, economic, and social benefits to the community.
- Trees combat climate change by absorbing CO2, removing and storing the carbon, and releasing oxygen.
- They sequester other greenhouse gas emissions and provide energy conservation through transpirational cooling, shade, and wind reduction.
- Trees clean the air by absorbing air pollutants and filter particulates.
- Trees prevent erosion and hold soil in place.
- Trees reduce runoff and prevent stormwater from carrying pollutants.
- Trees shield people from ultra-violet rays and provide a canopy for wildlife.
- Provide a wildlife habitat and food for humans, birds, and nature.
- Increased property value, trees also block unsightly views for landscaping.
- Improved aesthetics—it is trees that mark the seasons!
- Psychological wellbeing: studies show exposure to trees enhances health.
- Trees create unity. Plant a tree together and watch it grow with pride. Tree plantings provide an opportunity for community involvement to improve our neighbourhoods.
- They are the perfect listener that asks for nothing in return. They are our past, our present, and must be kept in our future.
Tree Planting mechanics
- Duration: 2-4 hours, depending on how many trees you are planting.
- Cost: $1-$5/sapling - this will largely depend on the amount, age, and size of young trees you want to plant.
- ReForest London: Industrial land planting
- Saplings - Contact your AG to find out if other clubs in your area are planning on doing a tree planting, as your regional conservation authority might be able to arrange regional purchases to minimize shipping.
- ReForest London have several options, including a ReForest London tree planting event where a/several Rotary Club(s) is/are the sponsor, or ReForest London can provide the trees for Rotary to plant on their own.
- Mulch
- Stakes
- Rope/twine/wire
- Volunteers: 8-20, depending on how many trees you are planting.
- This is a family-friendly activity.
- Intensity/Effort: Medium-high (digging, shovelling, bending or kneeling, carrying saplings)
- Location: Contact your local municipal environmental authority, park and recreation department, or gardening group to find appropriate and ideal tree-planting areas. Be sure to obtain any necessary permissions or permits before the event.
- Materials:
- Trees (fruit or native species)
- Shovels
- Water: buckets of water if on-site water isn't available
- Measuring tape
- Stakes
- Rope, twine, or wire to stake the trees
- Mulch
- Recycling and waste containers or bags
- Appropriate clothing and footwear:
- Close-toed, stiff shoes or boots for stomping on a shovel
- Long pants and a long-sleeve shirt, especially in dense vegetative areas
- Hats for warmth and/or sun protection
- Gardening or rubber work gloves, or bike gloves with a padded palm for using a shovel
- Waterproof rain gear is always a good idea to pack, just in case
- Cold weather: jacket, warm toque, gloves, (long underwear less likely in April) and wool/warm socks
- Planting Process: Proper planting is critical to the survival and long-term success of the trees.
- Locate the point at which the trunk flares out to join the roots. On B&B trees, remove the twine and burlap at the base of the trunk. If necessary, gently push the soil away from the base of the trunk to find the flare.
- Measure the distance from the bottom of the root mass to the trunk flare. Dig the hole no deeper than this; you want the root mass to sit on undisturbed soil. When planting is complete, the trunk flare should be slightly above the existing soil grade. Planting too deep is the top reason that trees and shrubs die, so please be careful to plant at the proper depth for both balled-and-burlapped (B&B) and potted trees.
- Dig the hole 2-3 times the diameter of the root ball or container, sloping the sides gently outward to the existing soil grade (this is ideal for the roots). Set aside the soil, sod clumps, and rocks.
- Remove the container from the base of the sapling and place the sapling at the proper depth.
- Fill the hole 2/3rds full with the dirt that you removed to make the hole and water, and fill the rest of the hole with good-quality soil.
- Use leftover rocks and dirt and mulch the area around the newly planted tree.
- Stake the trees so they don’t get knocked over, if necessary
Additional resources
- Lower Thames Conservation: Tree Planting
- Upper Thames River Conservation Authority: Forestry & Tree Planting Information
- Tree People: Top 22 Benefits of Trees
- Tree Canada: The Benefits of Trees
- Gardener's Supply Company: How to plant a tree or shrub
Click the following links to learn more about each project: Main Page | Pollinator Garden / Butterfly Garden | Rain Garden | Waste Clean-Up | Invasive Plant Clean-Up | Sustainability Fair | Nature Activities for Kids | Movie Night | Earth Balls / Seed Bombs | Tree Planting | Bee Hotel
.png)